Sunday, March 30, 2014

Xavier's Jungle Animal Themed Baby Book

Well I guess it's time for the next generation to start having babies.  My niece (brother's second daughter) is having a boy in June.  She liked the books I made for her sister and step-mom.  I asked her if she would like one and what theme.  She chose the jungle animal theme.  This is his finished book.  I will send it to her for the baby shower.  I'm sure she will like it and I hope you do to.  Thanks for looking.

I made this album using the Cricut Explore and purchased .svg files.  The page theme animals were files purchased from Crafty Cat 957 designs.  She is in the UK and I absolutely love the looks of the animals.  The smaller animals on the pages were from Cricut or Stamps of Life stamps/dies.  The panther on the very front was made using a coloring book page.  I made several copies and cut them into pieces.  I then glued them to cardstock to give them some stability.  I traced each piece onto the paper and hand cut them before assembling.


Front cover.  The trees were cut out of vaneer using the Explore.  This vaneer was thin and the regular blade was used on poster board setting.

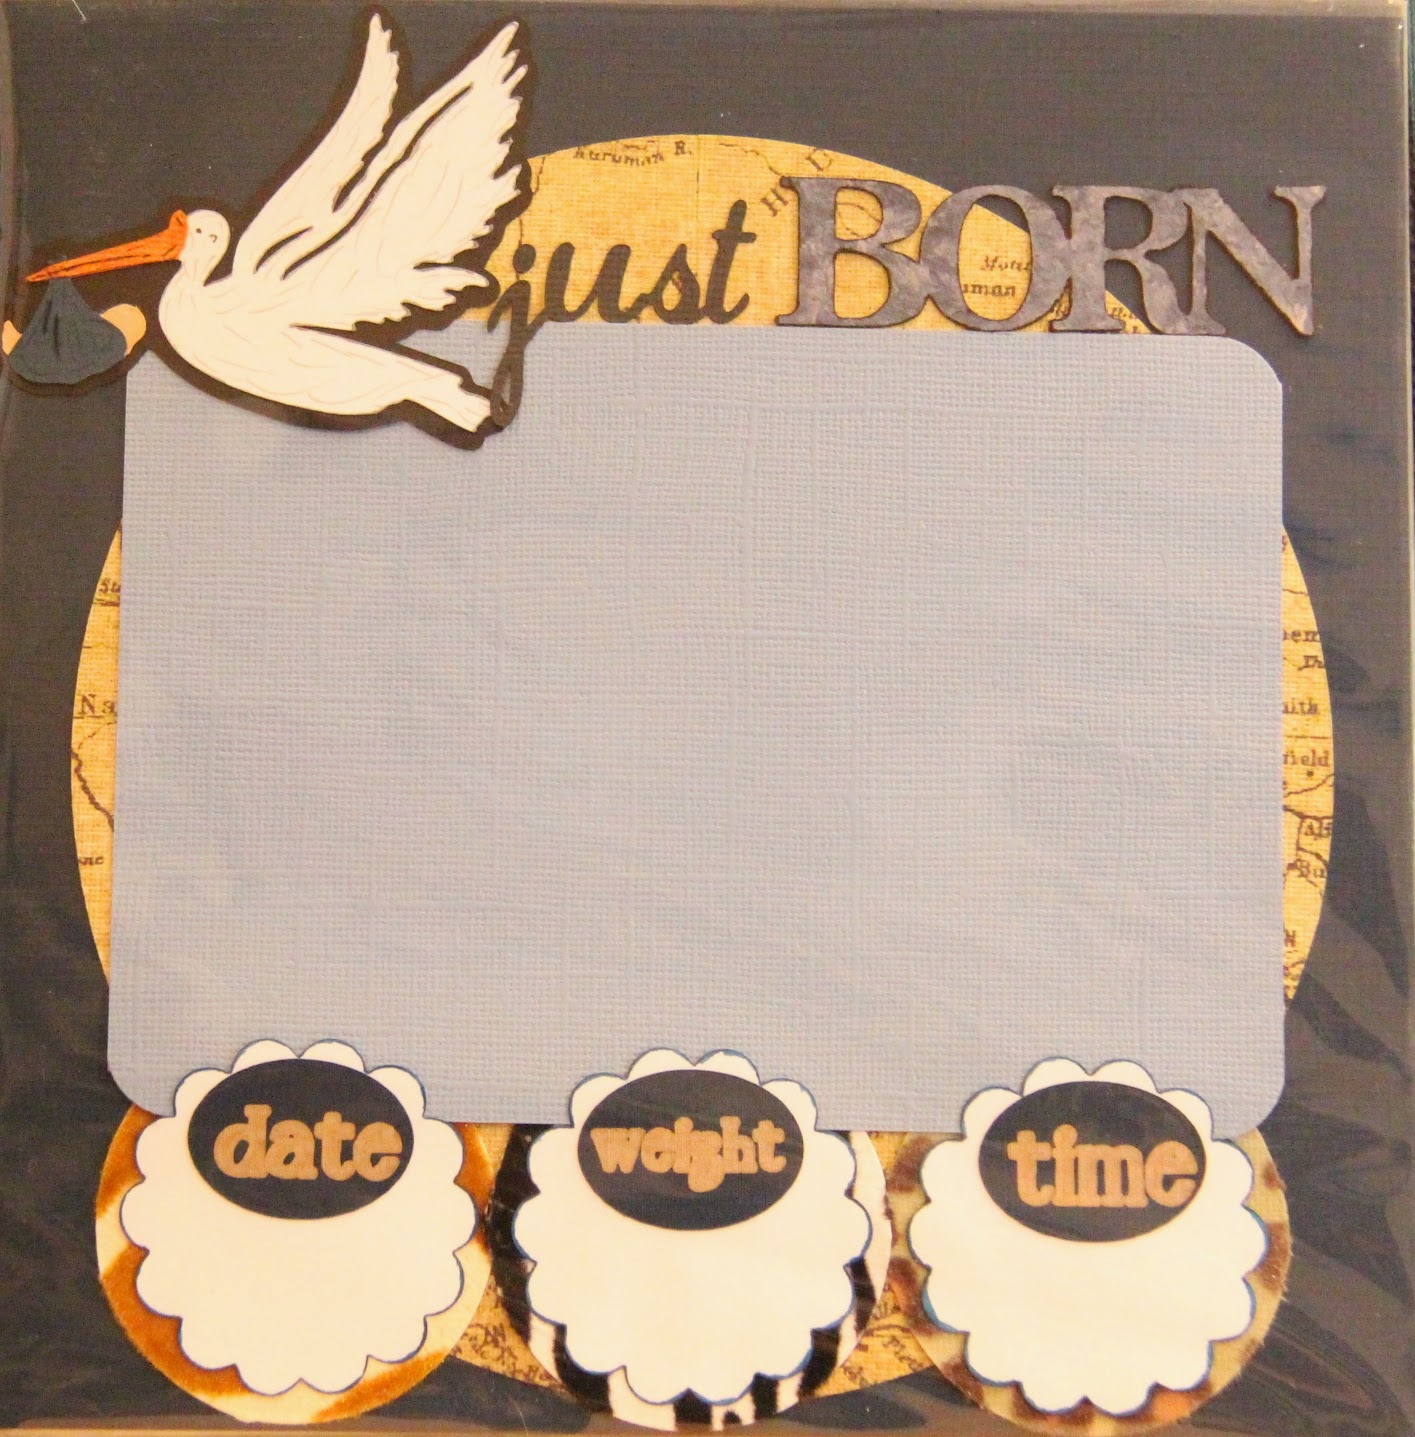
Stork is a Cricut file.  The date, weight, time ovals was drawn onto the paper using the copper metallic pen and then cut.


Butterfiles are Cricut files.


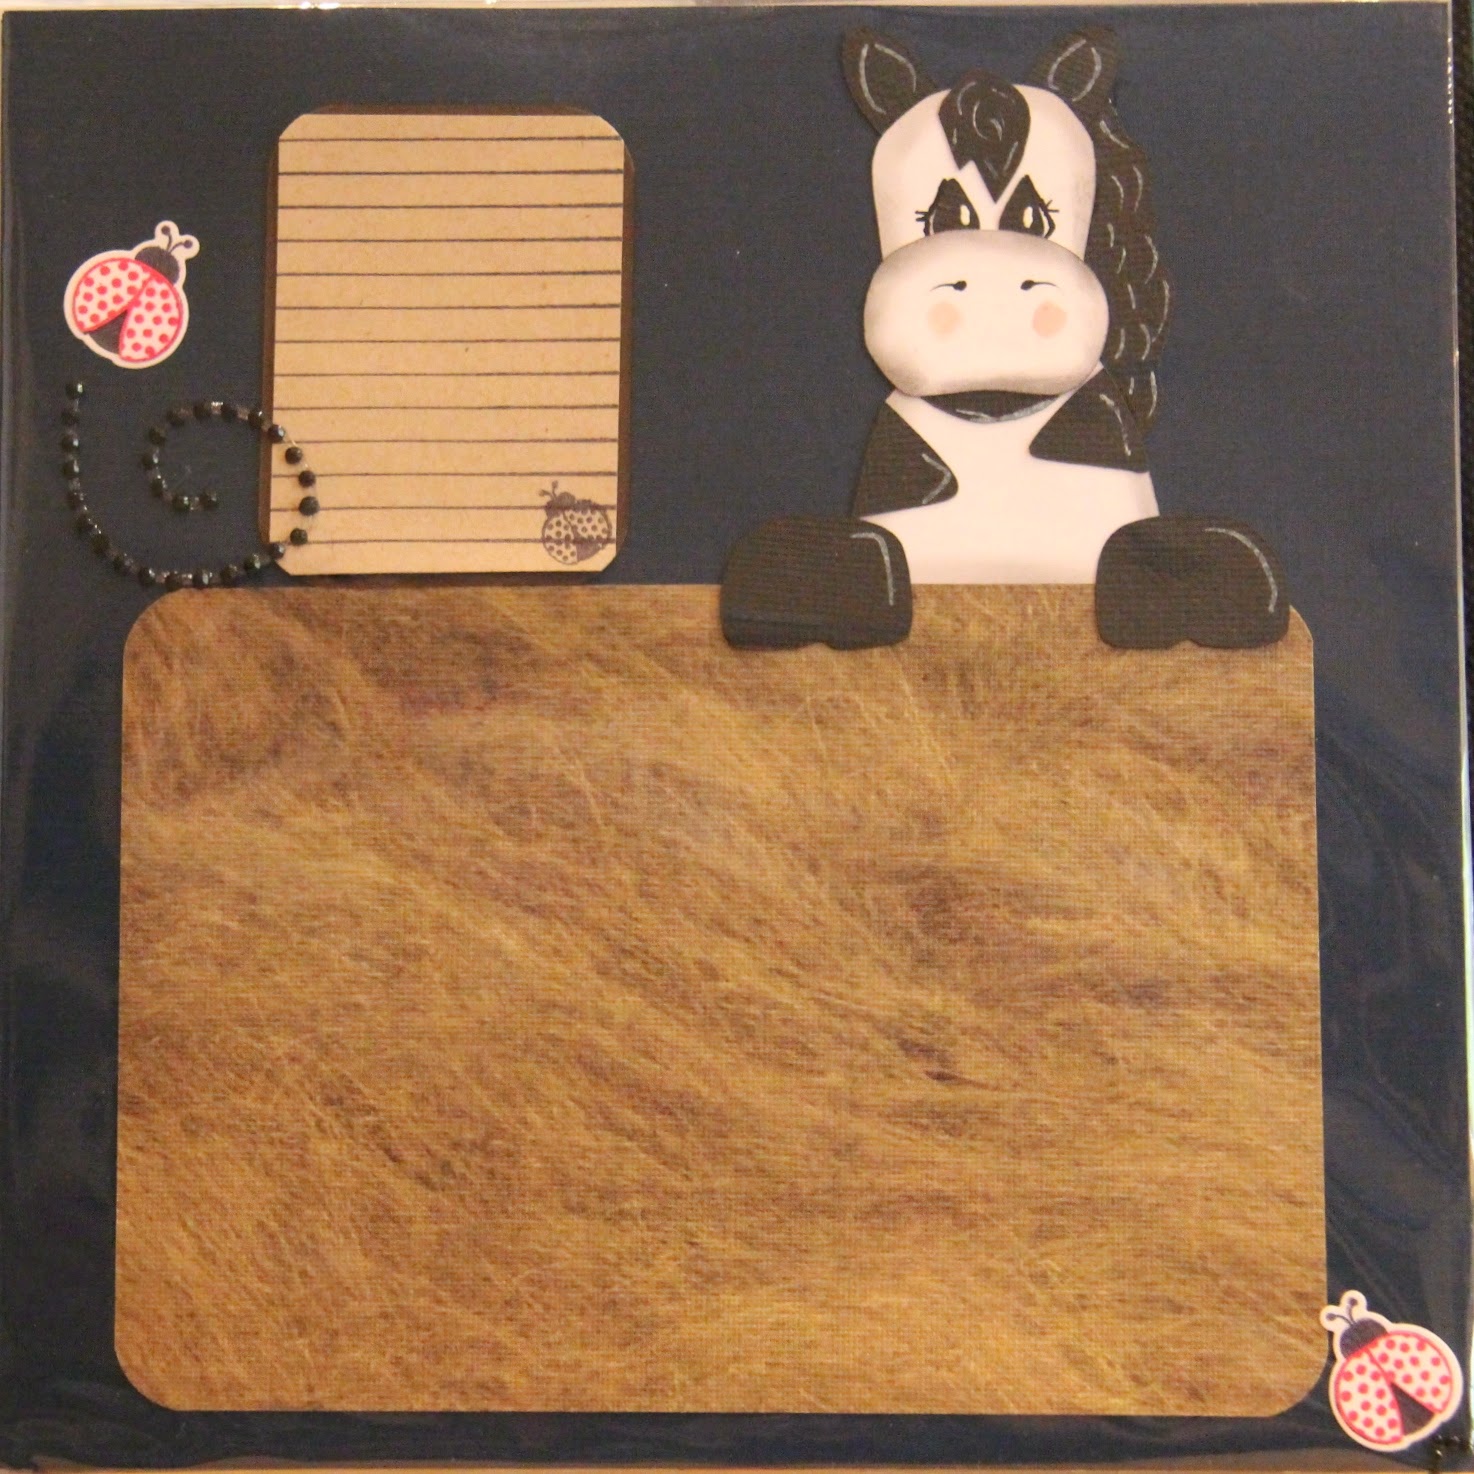
Lady bugs are Stamps of Life stamps/dies


Grasshopper is a Cricut file.


Dragonflies are Cricut.


Snail is Stamps of Life stamp/die


The tree, bird and grass are Cricut files.


This tree was cut using the deep cut blade on my Explore.  The material was thick birch vaneer.  I turned the dial to custom and used the thick chipboard setting.  It cut it like it was going through butter.  The clouds are Stamps of Life stamps/dies.  The tree, owl and leaves are Cricut files.


This picture doesn't do this justice.  I cut the cat tails from a Cricut file and they add so much to this page.  I wish I could have gotten a better picture but just couldn't capture what I wanted everyone to see.  The very small alligator is also Cricut.


I love these vines from Cricut.


Sweet Baby Boy is drawn on the cardstock using the copper metallic pen in the Explore.  The Ostrich is a Cricut file.


Thanks so much for looking, I hope I inspired someone to make a jungle animal theme project.

Vintage Alice in Wonderland Baby Book and Photo Book

When I worked, several of my employees had babies.  So I did what I always do, I made a baby book.  This book was a little different because they were going with a Vintage Alice in Wonderland theme.  It was a difficult to find things.  So I purchased some downloadable items from Etsy and made my own.  This is the book I ended up with.  I thought it turned out really well.  Their little girl was named Leni Grace.

The artwork was some of the items purchased from Etsy.  I would put the paper/cardstock that I was going to use for each page and print the artwork onto it.

Front cover


Pocket pages


Accordian photo holder


Pocket page


Magnetic cards


I then took the downloaded pages from the original book and made this photo book.  I added the title to the spine with my computer and printer prior to adding it to the book.


Hope I inspired someone to do a Vintage Alice in Wonderland book.  Thanks for looking.


Saturday, February 8, 2014

Mickey and Friends

My niece Riley will be three this year.  She loves Mickey and friends, so I decided to make her some to put in her room.  I cut all of them out of chipboard at 10", then layered them with the appropriate clothing, shaded/highlighted as best as I could (not my forte but I keep working on it), then DH sprayed them with a finish so if she touched them with wet/messy hands the ink wouldn't come off.  I hot glued Tim Holtz stands to the back of each one.  I can hardly wait to send them to her but her birthday isn't until June.  So I thought I would share them here.  Next project is for my 22 year old niece who is having her first child.  She has asked for a wild animal baby book.  Waiting for the new Cricut Explore to use .SVG files I purchased for animal paper piecings.  Can hardly wait for 10 p.m. on the 11th (Mountain time) so I can purchase it.


Thursday, November 14, 2013

Journal for Iceland

Hi everyone!  My DH and I like to travel and when we find a good deal, we usually jump on it.  TravelZoo sent me an email about Reykjavik, Iceland and we just couldn't pass it up.  So I am going to get to see the Aurora Borealis (I hope anyway)!  We are leaving the States on March 19, 2014 and will be on a boat looking for the Northern Lights during the Equinox (March 20, 2014).  I'm so excited!  My sister-in-law, niece, son, and one of his friends are going with us.  It should be an exciting time.  I like to journal my trips and always make some kind of journal prior to leaving.  This is my journal for this trip.  It started with folded file folders (cut to the size I wanted) and glued together.  Some pages have pockets and some don't.  I then cut out all of the words and numbers using Art Nouveau Font 1 in CCR.  I then covered chipboard for the front and back covers.  The spine was two pieces of card stock glued to some tyvek then added it to the covered chipboard on the outside.  I then adhered the file folders to the covered chipboard on the inside.  I also added a piece of washi tape to the seam of each page for decoration but it will also give it a little more stability.  I added some Icelandic words for eating, food, cuisine, just to make it a little different.

Doing some research, I found out that Icelanders believe in elves, fairies, gnomes, sprites, mountain spirits, etc.  So I decided to add a few of them in also.  The fairies are from Tinker Bell, the gnomes from Freshly Picked, and the elf is from Wrap it Up.  I also found some unique things to do while there.  We are going to attend the Elf School.  Magnason has been teaching this class for many years.  The following day, we will meet up with a lady by the name of Sibby to go in search of elves, fairies, gnomes, etc.  We will also be taking a Brewery tour, the Golden Circle tour, walking around the City, and then prior to going home, a trip to the Blue Lagoon.  I hope you like it.


Circle Mania 3 Project

This time around, I brought my Halloween Project with me to work on.  Since I traveled by plane, I did check a suitcase with my scrapping goodies in it.  However, I didn't bring my hot glue gun with me so I couldn't finish.  This was a kit that I purchased from a LSS and just had to put it together.  I really liked how it turned out.  You will notice that I already have the pics in it.  Halloween tradition for us is we spend the evening with my son and his two children.  My daughter takes her son out with friends in another part of the Valley.  But this year she shared a pic of our other grandson, so his pic is in the book this year.  I hope you like it.


Front cover:  I used Stampin' Up markers to color the wood, stickled around the lace, stickled the web and bats, then covered all with glossy accents.


Pumpkin was colored in using Stampin' Up markers.